


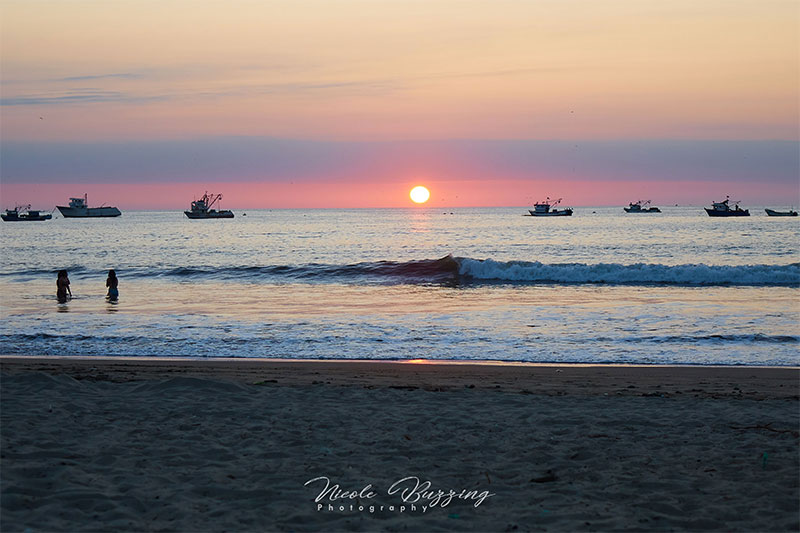
Taking better photos while traveling means you can preserve those memories forever. Those life-changing moments, that glimpse into another place and time — preserve those nostalgic feelings through your photos!
Photography is an art form enjoyed across all countries, cultures, and ages for a reason. Through the use of modern technology and transforming light, we have the ability to preserve our favourite memories within photographs.
For many people, capturing those precious moments while traveling is of great importance so that they may later be transported back to that exact time and place.
Photographs have the ability to create emotional — and sometimes even physical — responses that are unique to each individual.
We look at photographs not only to be reminded of a place, person or object, but to experience once again how we felt at that time in our lives and to elicit similar emotions from others viewing the same picture.
3 Tips for Taking Better Photos (Before Traveling)
Creators: Get insights + tips to help you thrive.
1. Gain a basic foundation of photography
You don’t need to sink hours and hours into expensive courses, but you should have a general understanding of the fundamentals of photography.
That means understanding the exposure triangle, which details how shutter speed, ISO and aperture work together. Understanding some basic guidelines, like the rule of thirds and leading lines related to composition, is also quite important.
There are literally thousands of helpful YouTube videos out there to discover and learn from – all you have to do is search!
There are also several paid courses available (I personally completed the iPhotography Course and would recommend it for all budding photographers) and a limited number of free courses available.
Right now, there is a free Introduction to Photography Course available from Karl Taylor and it does not require registration to access. Although I have not personally completed this course, I’ve watched the first couple of modules and can say that it’s a great resource for beginners to gain a basic foundation of photography.
2. Practice. Practice. Practice.
Practice taking photos near home and getting comfortable with your camera’s settings and the ability to manipulate them to your advantage.
That means experimenting in different lighting situations to understand what settings are needed to capture a shot at mid-day, at dusk, and [if possible] at night.
Experience what it’s like to take pictures inside with artificial light versus outdoors with natural light, as well as with limited light (because the sun isn’t always going to be shining).
Practice shooting different subjects:
- Try taking photos of still life (a stationary object like a piece of fruit)
- Photograph slow-moving objects (like a pet or a person)
- Take photos of fast-moving objects (like a bike or car)
Test out accessories including lens filters, tripods and remote shutters in advance so that you know when the situation calls for them and how to use them.
Practice regularly until you know how to easily adjust your exposure, shutter speed, DoF, focal point, colour balance, etc. It should become second nature.
Being able to anticipate your set-up requirements just by being familiar with your camera and gear will aid you in taking better photographs.

3. Know what your camera is capable of
Whether you have a smartphone or a DSLR camera, know the situations where it can be best used. There is no such thing as a “perfect” camera or lens and each will have its own advantages and disadvantages.
Know how much battery life you can expect, the point in which you no longer have enough light to take a decent shot by hand, and if your camera is water or dust resistant.
Know that a prime lens has a fixed focal length, but typically shoots faster and provides a better quality image. Whereas a zoom lens allows for more variable range and the ability to “zoom” in, but typically has more limitations related to image quality.
Recognize your camera’s limitations and make the most of its abilities.
How to Take Better Photos While Traveling
Through practice, trial and error, and attempting to make rational choices, I have learned a few key lessons for practicing travel photography while abroad.
I am happy to share this knowledge with you and I hope that these insights prove helpful for taking great photos during your next travel adventure!
Tips for Packing Camera Gear for Travel
If you have a good quality camera and multiple lenses, you should first assess what is practical to bring with you on a trip before packing.
Carrying a camera body plus multiple lenses (that are both delicate and expensive) may not always be the best choice.
Sometimes the hard decision of taking a single “all in one” zoom lens compared to several “better” lenses pays off in being ready for the shot.
Taking more than necessarily will likely pose a physical burden while exploring because camera gear can get heavy on foot. I carried a four-pound lens plus the camera body by hand through the forest for two hours and my muscles regretted it for days afterwards (don’t do what I did).
You are also limited in what you can fit into a carry-on bag, so only take what you need. Remember: camera gear worth thousands of dollars does not go in your suitcase.
Assess what kind of photography you plan to do while traveling (landscapes, portraits, action shots, etc.) and plan accordingly.
Ideally, you take a zoom lens that offers you options for both wide and narrow focus images (for example, a 24-240 f/3.5-6.3) and a prime lens (for example, a 15mm f/1.4) to ensure your bases are covered in a variety of scenarios.
An action camera like a GoPro may also come in handy if you are an adrenaline junkie who likes to record your experiences or if rough-and-tumble is part of your travel itinerary (or life!).
Pack your essentials: cleaning supplies, a lens hood, and perhaps a collapsible monopod or lightweight tripod and you should be set.
My personal recommendations:
When traveling by plane, I prefer to take my Sony RX10 in a compact camera bag because it is so versatile and its features meet many of the requirements I find myself in need of while abroad.
You can view my Sony RX10 review here if you want to know why I chose this camera for my travel needs.
If traveling locally, I swap the RX10 out for my Sony A7 III and bring 2-3 lenses in my camera bag. I do this because I have more room in my car and can worry less about hauling my gear.
Again, choose the gear that meets your needs and will travel with you easily.
Always Be Ready to Take Photos During Your Travels
The worst thing you want to be doing is fumbling around trying to get your camera out of your bag or flipping through your settings when you have literally seconds (if even!) to take a shot before the moment is lost forever.
Whenever you plan to go exploring, have your camera fully charged and your ideal settings programmed before walking out the door.
Often while traveling, wildlife has a tendency to appear spontaneously and briefly, limiting opportunities for photos.
If you are aiming to photograph wildlife, again try to anticipate the settings you will need (likely a fast shutter speed) in order to get a good shot.
Have your camera in your hand (and ideally secured by a strap around your neck) ready to pull the trigger when the opportunity presents itself.
If you are lucky enough not to be pressed for time, try to plan your shot with purpose: what are you trying to convey or capture about that scene or subject that has meaning to you?
The ability to visualize how you want your image to be aesthetically composed before taking the shot is another skill that takes lots of practice and reflection.

Take LOTS of Pictures & Back Them Up
Never take just one picture. There is no hard and fast rule that says you will get your desired shot the first time you shoot or even within 5, 10 or 20+ frames.
Because cameras allow for so much composition variance, sometimes you may not like how an image was shot or be unhappy with the focus or composition.
On the other hand, sometimes you take a shot in a way that you hadn’t consciously intended for and it becomes one of your favourites.
Taking multiple shots of the same scene or subject increases your chances of a successful shot – it’s a numbers game.
This travel photography tip video by Mitchell Kanashkevich will help explain why being a “photo sniper” is not a good idea and explores his approach on why taking multiple shots is key to good photographs.
Additionally, it’s a good idea to back up your photos while traveling at the end of each day. Use cloud storage when Wi-Fi is available or use a portable hard drive to back up your images locally.
It’s a hard lesson learned when days of images get lost due to SD card or camera failure, or even as a result of theft. You can never get those images back, so do yourself a favor and back them up daily.
While you don’t always need the best or the newest equipment – be aware that not all camera equipment is the same.
For travel and nature photography, having two memory cards (in case one fails) and/or a camera that can handle a bit of rain and splash may make the difference between getting a shot or not.
Be Considerate of Who You Photograph
There’s no shame in holding up your camera in the middle of the city square and wanting to capture a specific shot. Generally, most things in the public view are free for snapping to your heart’s content.
Some people are uncomfortable when it comes to taking photos out in public or of people. However, busy streets and local markets are full of people and it’s hard not to include them in populated areas (plus it adds context to the busyness of the scene).
Simply wearing a camera alerts people in your vicinity that you are taking photos and may even earn you some unspoken advantages, like crowds subconsciously clearing out of your way when you are attempting to take a shot.
If you are intending to take a more focused shot of a person or a few people, it is highly recommended that you approach your subjects and let them know you want to take their photo. Politely ask them or at least use hand gestures to convey your request and seek approval.
Most people will be flattered that you asked and those who don’t want their photo taken will tell you so.
Taking photos of children is different and I would suggest getting their parent’s permission first.
Just be polite and respectful when shooting in public and don’t be afraid to make a connection with someone if you feel compelled to include them in your picture.
Always give yourself extra time for taking photos where possible. Inspiration and creative composition cannot simply be pulled from a hat and sometimes needs time to come together.
If you ever need an extra moment to take a photo or have to wait for traffic to pass, take it. If you’re not traveling solo, simply let the person you’re with know that you need more time and they will likely accommodate you.
Use Common Sense and Caution
In some situations, it is best to leave the camera at home. Certain cities or places might be inappropriate to photograph and you will want to use caution to not draw attention to yourself (and pulling out a high-tech camera or phone is not the best way to blend in).
There will be times when your gut tells you it is best to go without your camera or not to pull it out – trust your gut!
In these places, it may be best to just leave the camera behind or leave the phone in your zippered pocket and let your memory play visual storyteller.
It’s just not worth the risk of theft or becoming a target.
As a general rule, it is wise to stay on well-lit streets and public paths – use appropriate caution if you stray off well-traveled roads or explore unknown areas alone.
In other scenarios, highly active or high-risk activities are also situations where your camera will be safest at home (unless you have a specific action camera designed for these undertakings, like the GoPro mentioned above).
Use caution and respect when photographing wildlife as well. Using flash for animal photos is generally frowned upon and can cause the animal unnecessary stress.
Always keep your distance and be aware of your surroundings and the animal’s behaviour.
Do not partake in up-close animal selfies or take photographs of animals that are chained up, drugged or being mistreated (unless you plan on reporting it using those photos). This is not how we show their majestic beauty or promote animal welfare practices.
And if there are free-roaming animals nearby with human-like curiosity and opposable thumbs (like monkeys), your camera will be safest if it’s stowed away.
Try a Different Angle
Photography allows for a lot of creative composition, so always explore alternative perspectives of the same subject.
Use your creativity to consider options that are more interesting and thought-provoking from a less conventional point of view.
Consider a shot from ground level, from high atop a tower, from the water facing the land.
Techniques such as framing (creating a frame around part or all of your main subject) can also be used to create stunning imagery.
You may be surprised when looking at all of your final shots at which one conveys the strongest feelings for you.
A Final Note on Taking Photos While Traveling
A universal love for photography and preserving moments in time that can never be replicated is practiced passionately across the globe.
Professionals and amateurs alike can enjoy exercising their creative eye and sharing their love of the people and places they have seen with others.
Try to convey a sense of place and emotion through your photographs that others can sense when viewing them as well – tell a story that makes them think and feel when looking at your photographs.
Travel photography is for everyone and I encourage you to take many pictures as often as possible!

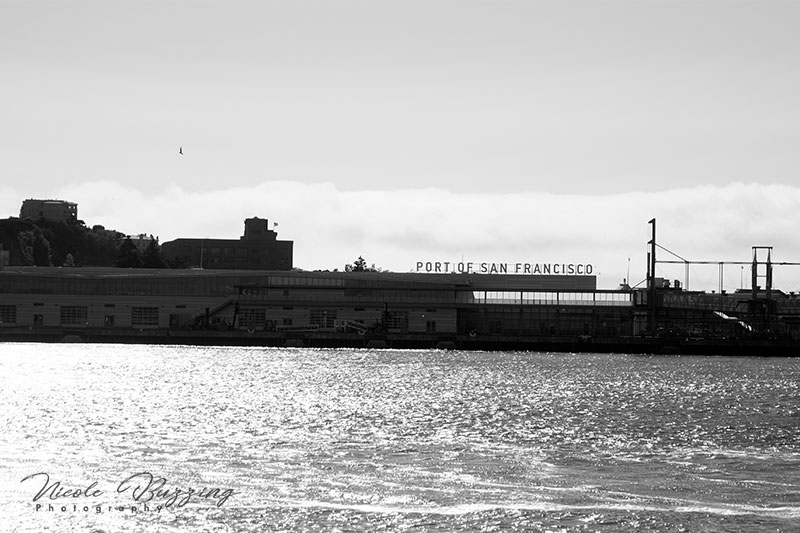
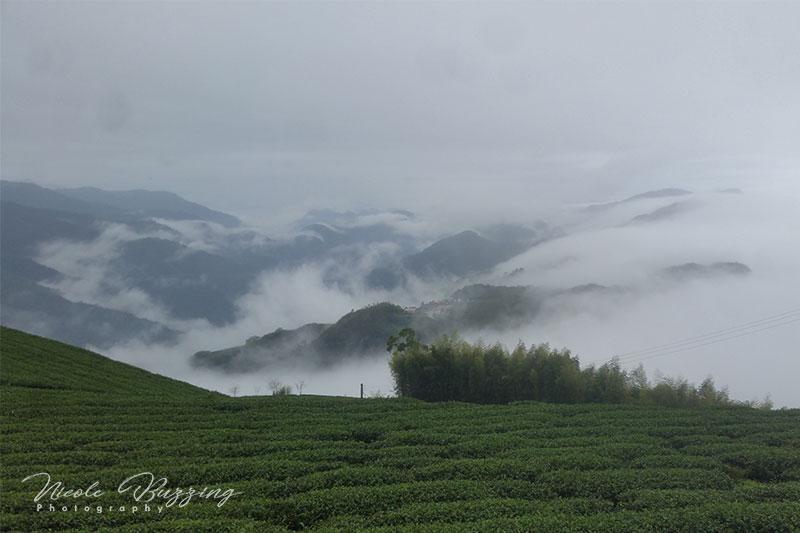
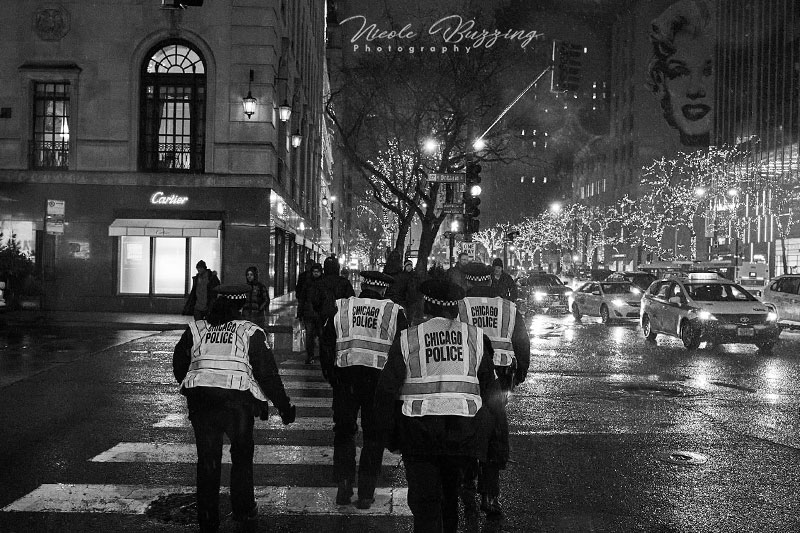
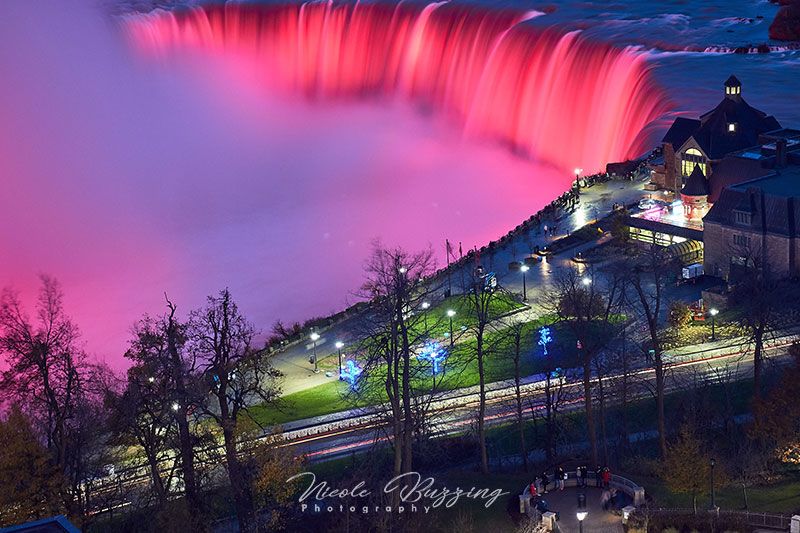
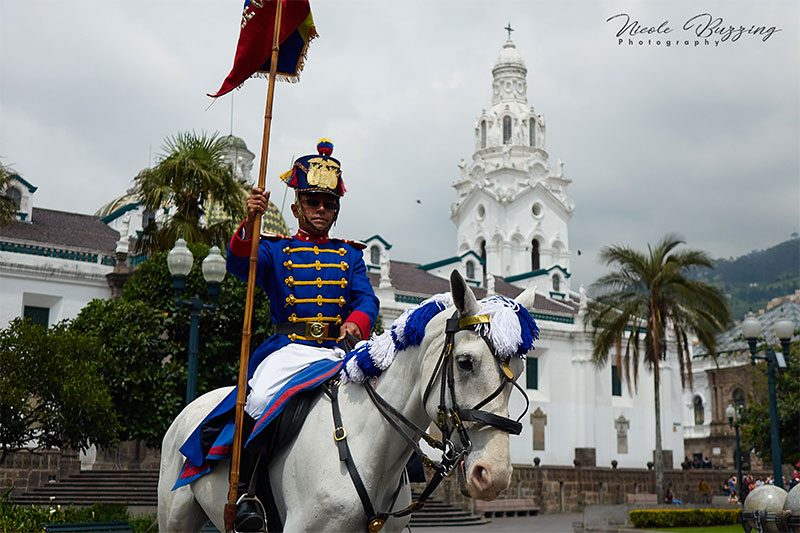
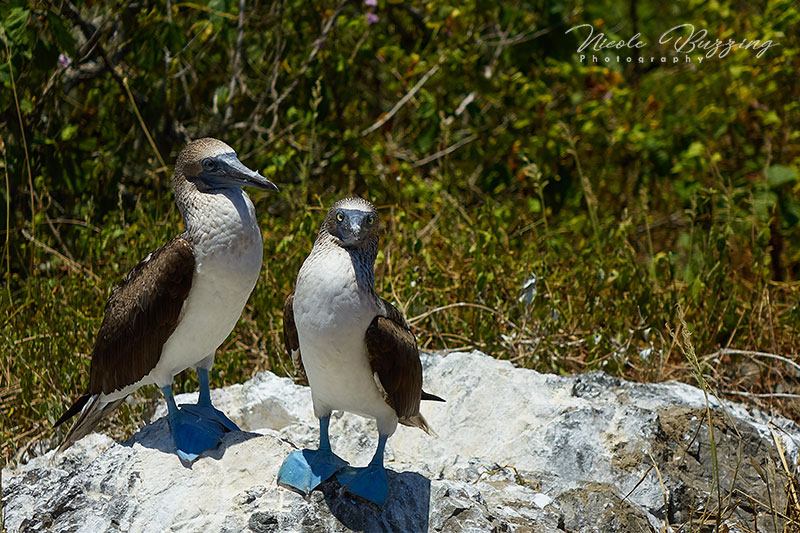
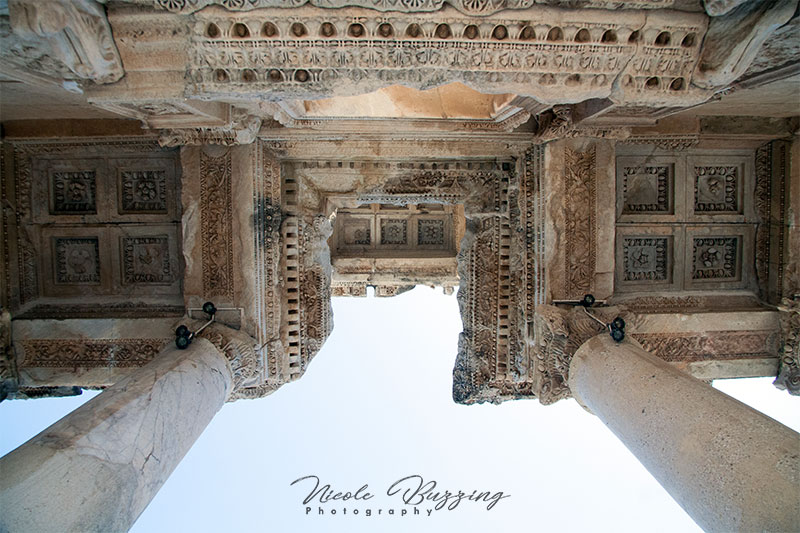
All images courtesy of Nicole Buzzing


